Dashboard
Designer
Elsa workflow designer is a part of Elsa dashboard and provides a user-friendly interface that makes it easy to create and manage workflows. If you click the "Create Workflow" button on the workflow definition page or embed the designer in your application you'll see the designer.
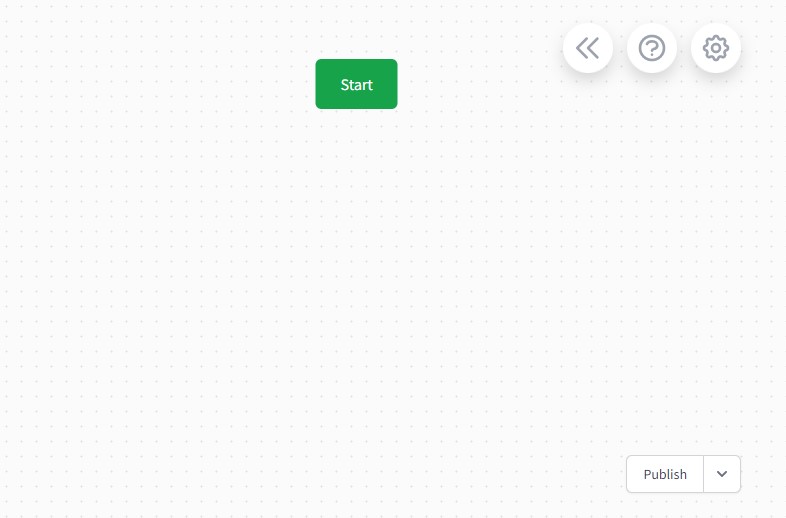
When you click on the "Start" button, a pop-up window appears showing a list of registered activities that you can choose from. These activities are categorized, and you can use the search function to find the specific activity you want
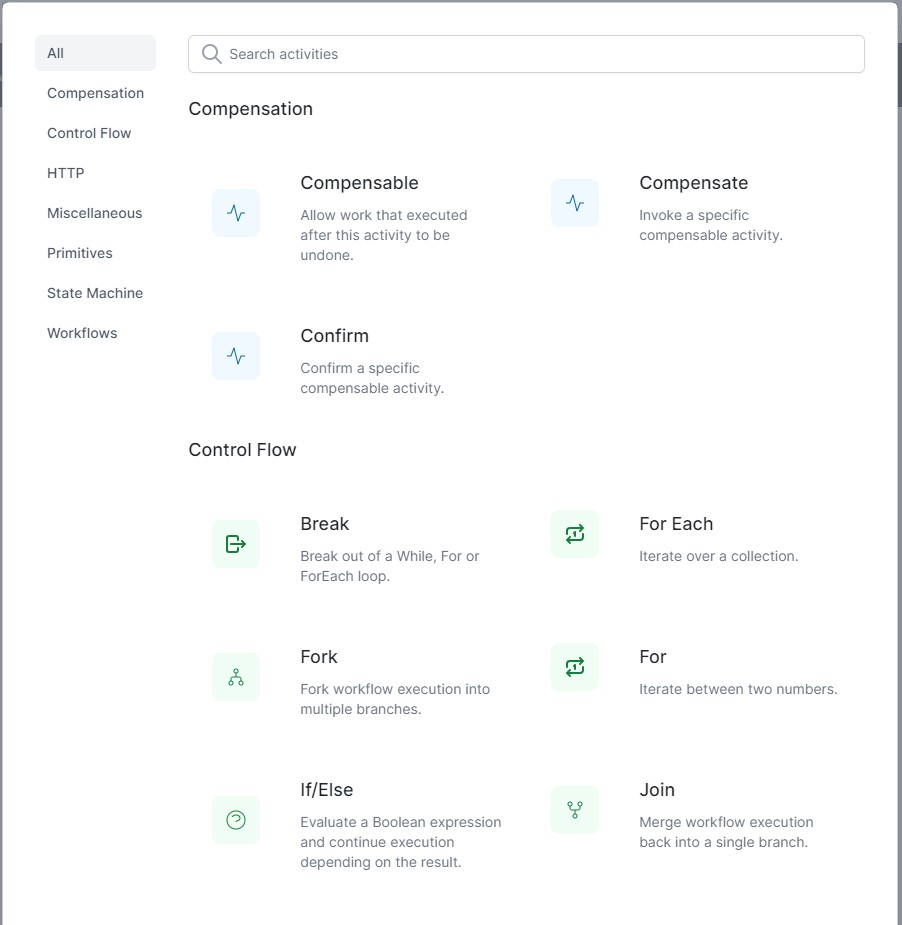
When you click on each activity, the specific activity options will be displayed. After setting the options, clicking on the "Save" button adds the activity to the designer.
Actions
Deleting Connections
To delete an existing connection, hover your mouse over it, and then RIGHT-click on it.
Connecting to Existing Activities
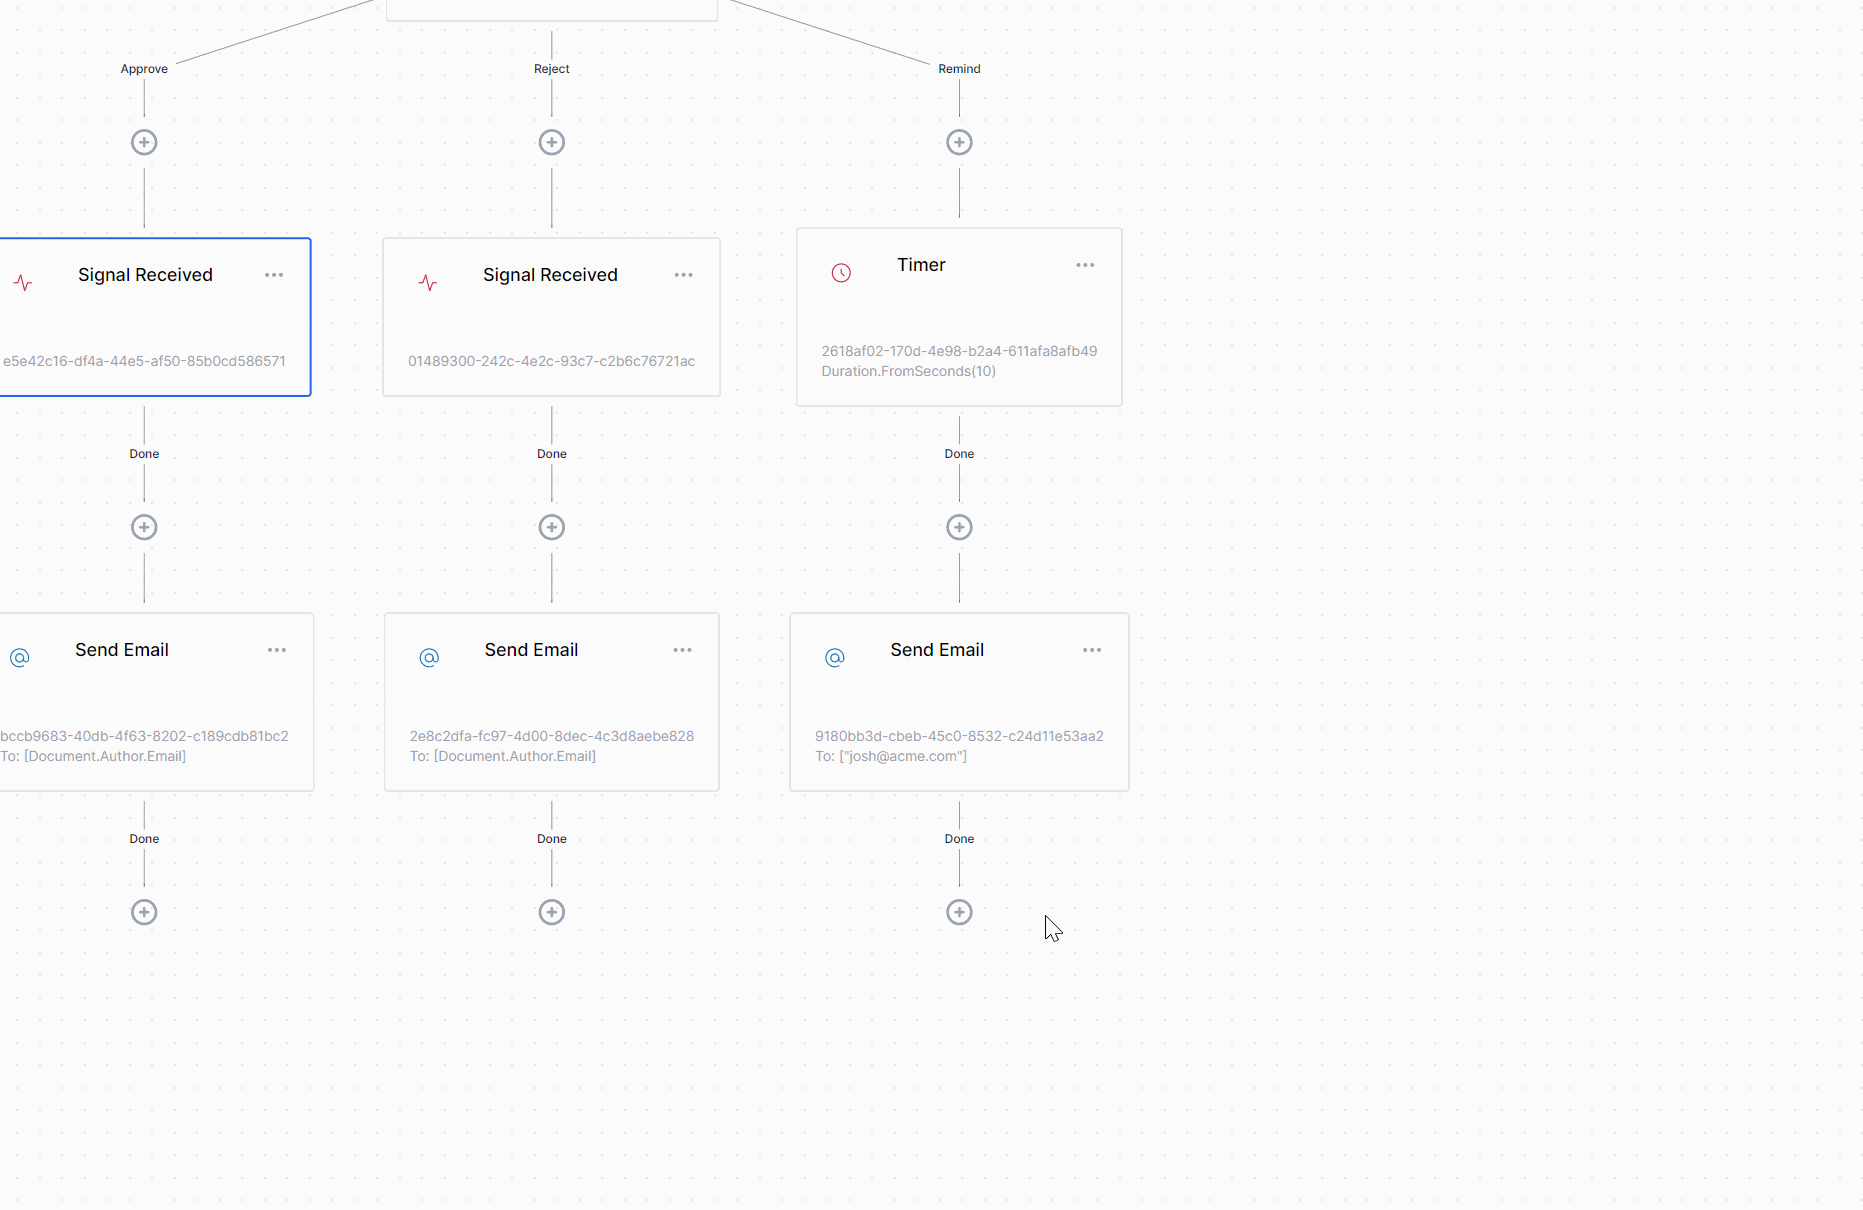
To connect an outcome to an existing activity:
- Press and hold the SHIFT button while left-clicking the outcome from which you wish to connect.
- Left-click on the target activity (no need to keep pressing SHIFT)
Pan
Click anywhere on the designer and drag the mouse to pan.
Zoom
Use the mouse scroll-wheel to zoom in and zoom out of the current view.
Undo / Redo
Undo/redo operations are currently not supported, but we have an issue for it.
Workflow info
When you click on the round button with double arrows icon, the workflow information opens, which has two tabs: "General" and "Version History".
General
In the General tab, we can view the general properties of the workflow. Name, Display Name, Id, Latest Version, Published Version, and status.
Version History
Elsa Workflows Designer allows you to keep track of workflow versions. The Version History tab in the Workflow Definitions menu provides a list of the changes made to the workflow. Actions such as viewing a specific version of the workflow, deleting a version, or reverting to an earlier version can be taken from this tab.
Settings
You can access the Workflow Settings by clicking on the round button with a gear icon on it which has four tabs: "Settings, "Variables", "Workflow Context", and "Advanced".
Settings
- Name The name of the workflow appears in the workflow definitions list if you have not set a display name. You can also use this name to query workflow definitions through the API.
- Display Name The display name is the name that will be shown in the workflow definitions list, and you can use a more descriptive name for your workflow. The difference between the name and the display name is that the name can be queried for workflows, while the display name is the name that appears in the workflow lists
- Description The description field allows you to write notes about your workflow, including its functions and intentions. It's a useful place to document your thoughts for future reference.
Variables
The Variables tab allows you to define variables that can be used throughout the workflow. In this section, you can provide key-value pairs in JSON format, which can be referenced in your workflow steps or accessed in your custom activities.
Workflow Context
To learn more about the workflow context, please refer to here. In the Workflow Context tab, you can change the settings for the context type and fidelity.
Type: The fully qualified workflow context type name is the application-specific context that is available within the activities and can be accessed through it.
Fidelity: The Fidelity field controls how often the workflow context is loaded or saved.
- Burst: the workflow context is only loaded once per burst of execution
- Activity: the setting will cause the workflow engine to load the context after every activity execution
Advanced
Tag You can use tags to label your workflow definition, making it easier to query the definition later using the API.
Persistence Behavior The Persistence Behavior setting indicates how often the workflow instance should be persisted during its execution. This determines the level of durability and reliability of the workflow data.
- Suspended: When set to 'Suspended', the workflow instance is persisted when the workflow is suspended. This allows you to resume the workflow from the exact point where it was suspended.
- Workflow Burst: When set to 'Workflow Burst', the workflow instance is persisted when the workflow execution starts. This ensures that the initial state of the workflow is durable and can be recovered in case of a failure or restart.
- Activity Executed: When set to 'Activity Executed', the workflow instance is persisted each time an activity is entered. This provides a higher level of durability and allows you to recover the workflow from the last executed activity.
Channel The channel for the workflow to execute in.
Singleton When set to 'Singleton', the workflow definition ensures that only one instance of the workflow is running at any given time. This is useful for tasks that need to be executed on a regular basis but should not overlap with other running instances of the same workflow.
Import/Export
The Import/Export options are located in the Publish button dropdown and allow you to import or export your workflow definition in JSON format. This is useful when you want to share your workflow definition with others or back up your workflow definition to a file. When you export a workflow definition, the resulting JSON file contains all the workflow properties, including the name, display name, variables, and other relevant information.
Publish
Publishing a workflow creates a new version of the workflow and makes it available for execution. It is the final step before the workflow goes live. When you publish a workflow, a new version number is assigned to it, and it becomes available for execution.
Before publishing the workflow, make sure you have set all the necessary properties. Once you are ready to publish, click on the "Publish" button in the bottom-right corner of the workflow designer.
After publishing, the workflow can be executed and monitored. If you make changes to the workflow, you will need to publish a new version for the changes to take effect.