Installation
Installing Elsa Dashboard
The UI portion of Elsa Workflows is provided as a set of HTML web components in the form of the @elsa-workflows/elsa-workflows-studio NPM package.
The web components can be used as normal HTML tags in your own HTML documents, which means that you can re-host the designer and even the dashboard UI in your own web application.
To make it easy for ASP.NET Core developers to integrate the visual designer into their own project, the components are made available via the Elsa.Designer.Components.Web NuGet package, which embeds the necessary client asset files.
The following steps assume you have created a blank ASP.NET Core project and demonstrate configuring the Elsa Dashboard SPA.
Add Package
To add the package to your ASP.NET Core project, run the following command:
dotnet add package Elsa.Designer.Components.Web
Register Services from Startup
Update your Startup.cs to contain the following code:
using Microsoft.AspNetCore.Builder;
using Microsoft.Extensions.DependencyInjection;

namespace WebApplication1
{
    public class Startup
    {
        public void ConfigureServices(IServiceCollection services)
        {
            services.AddRazorPages();
        }

        public void Configure(IApplicationBuilder app)
        {
            app.UseStaticFiles();

            app.UseEndpoints(endpoints =>
            {
                endpoints.MapFallbackToPage("/_Host");
            });
        }
    }
}
Create _Host.cshtml
The _Host.cshtml will render and include the necessary HTML, scripts and styles for the Elsa Dashboard UI.
Create a new directory called Pages.
Create a new file called _ViewImports.cshtml and add the following markup:
@addTagHelper *, Microsoft.AspNetCore.Mvc.TagHelpers
Create a new file called _Host.cshtml and add the following markup:
@page "/"
<!DOCTYPE html>
<html lang="en">
<head>
    <meta charset="utf-8"/>
    <meta name="viewport" content="width=device-width, initial-scale=1.0"/>
    <title>Elsa Workflows</title>
    <link rel="icon" type="image/png" sizes="32x32" href="/_content/Elsa.Designer.Components.Web/elsa-workflows-studio/assets/images/favicon-32x32.png">
    <link rel="icon" type="image/png" sizes="16x16" href="/_content/Elsa.Designer.Components.Web/elsa-workflows-studio/assets/images/favicon-16x16.png">
    <link rel="stylesheet" href="/_content/Elsa.Designer.Components.Web/elsa-workflows-studio/assets/fonts/inter/inter.css">
    <link rel="stylesheet" href="/_content/Elsa.Designer.Components.Web/elsa-workflows-studio/assets/styles/tailwind.css">
    <script src="/_content/Elsa.Designer.Components.Web/monaco-editor/min/vs/loader.js"></script>
    <script type="module" src="/_content/Elsa.Designer.Components.Web/elsa-workflows-studio/elsa-workflows-studio.esm.js"></script>
</head>
<body class="h-screen" style="background-size: 30px 30px; background-image: url(/_content/Elsa.Designer.Components.Web/elsa-workflows-studio/assets/images/tile.png" /%}; background-color: #FBFBFB;">
<elsa-studio-root server-url="https://your-elsa-server" monaco-lib-path="_content/Elsa.Designer.Components.Web/monaco-editor/min"></elsa-studio-root>
</body>
</html>
Notice that you will need to update the server-url attribute of the elsa-studio-root element with a valid URL that points to your Elsa server.
Run
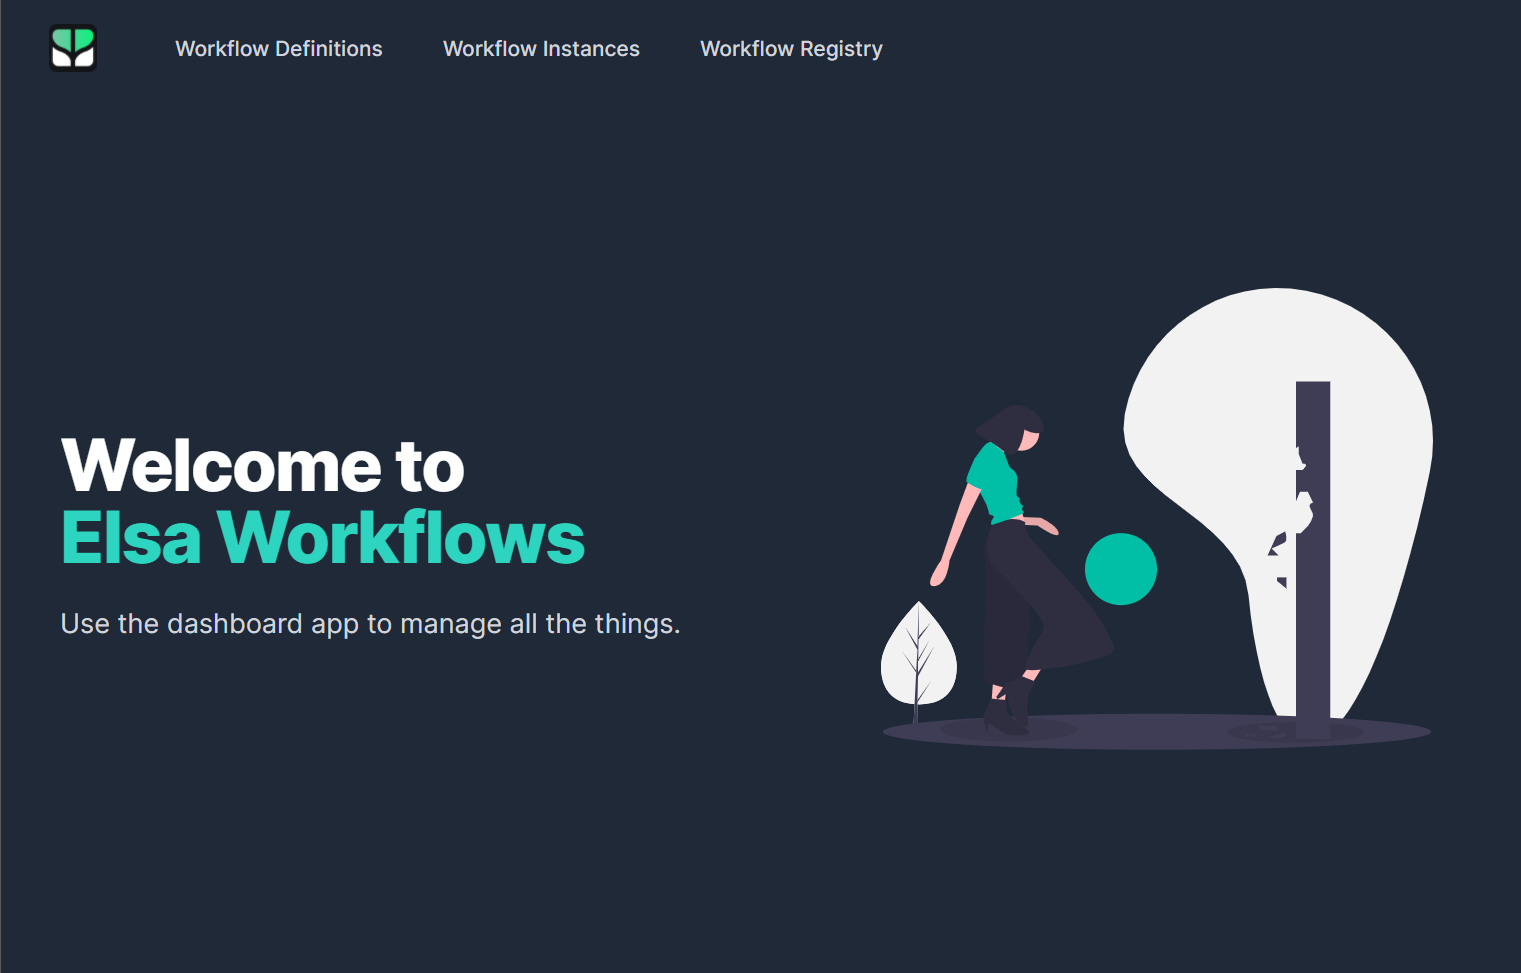
When you run your application you should see the following:
None of the menu items will function correctly until you made sure to point the component to a running Elsa server.
Elsa Server
Follow this guide to learn how to setup an Elsa server application.
Workflow Designer
Instead of embedding the entire dashboard SPA, it is also possible to embed the individual, lower-level components in your own application. The Installing Elsa Designer page shows how this works.