Quickstart
Dashboard
In this quickstart, we will take a look at a minimum ASP.NET Core application that hosts the Elsa Dashboard component and connect it to an Elsa Server.
ElsaDashboard + Docker
Although it is useful to be able to setup your own Elsa Dashboard project in order to customize certain aspects, on many occasions you may find that the basic dashboard is al you need in order to connect to an Elsa Server.
Elsa ships with a pre-made project called ElsaDashboard.Web which you can configure to talk to an existing Elsa Server. In addition, there is a Dockerfile that you can build and run as well.
For more information, checkout the Docker quickstart.
We will:
- Create an ASP.NET Core application.
- Install the Elsa Dashboard component.
The Project
Create a new, empty ASP.NET Core project called ElsaQuickstarts.Server.Dashboard:
dotnet new web -n "ElsaQuickstarts.Server.Dashboard"
CD into the created project folder:
cd ElsaQuickstarts.Server.Dashboard
Add the following packages:
dotnet add package Elsa.Designer.Components.Web
Startup
Open Startup.cs and replace its contents with the following:
using Microsoft.AspNetCore.Builder;
using Microsoft.AspNetCore.Hosting;
using Microsoft.Extensions.DependencyInjection;

namespace ElsaQuickstarts.Server.Dashboard
{
    public class Startup
    {
        public void ConfigureServices(IServiceCollection services)
        {
            services.AddRazorPages();
        }

        public void Configure(IApplicationBuilder app, IWebHostEnvironment env)
        {
            app.UseStaticFiles();
            app.UseRouting();
            app.UseEndpoints(endpoints => { endpoints.MapFallbackToPage("/_Host"); });
        }
    }
}
_Host.cshtml + _ViewImports.cshtml
Notice that the application will always serve the _Host.cshtml page, which we will create next.
- Create a new folder called
Pages. - Inside
Pages, create a new file called_ViewImports.cshtml. - Inside
Pages, create a new file called_Host.cshtml.
Add the following content to _ViewImports.cshtml:
@addTagHelper *, Microsoft.AspNetCore.Mvc.TagHelpers
And add the following content to _Host.cshtml:
@page "/"
<!DOCTYPE html>
<html lang="en">
<head>
    <meta charset="utf-8"/>
    <meta name="viewport" content="width=device-width, initial-scale=1.0"/>
    <title>Elsa Workflows</title>
    <link rel="icon" type="image/png" sizes="32x32" href="/_content/Elsa.Designer.Components.Web/elsa-workflows-studio/assets/images/favicon-32x32.png">
    <link rel="icon" type="image/png" sizes="16x16" href="/_content/Elsa.Designer.Components.Web/elsa-workflows-studio/assets/images/favicon-16x16.png">
    <link rel="stylesheet" href="/_content/Elsa.Designer.Components.Web/elsa-workflows-studio/assets/fonts/inter/inter.css">
    <link rel="stylesheet" href="/_content/Elsa.Designer.Components.Web/elsa-workflows-studio/elsa-workflows-studio.css">
    <script src="/_content/Elsa.Designer.Components.Web/monaco-editor/min/vs/loader.js"></script>
    <script type="module" src="/_content/Elsa.Designer.Components.Web/elsa-workflows-studio/elsa-workflows-studio.esm.js"></script>
</head>
<body>
<elsa-studio-root server-url="https://your-elsa-server-url" monaco-lib-path="_content/Elsa.Designer.Components.Web/monaco-editor/min">
    <elsa-studio-dashboard></elsa-studio-dashboard>
</elsa-studio-root>
</body>
</html>
Run
Run the program and open a web browser to the home page (usually happens automatically if you don't change launchSettings.json):
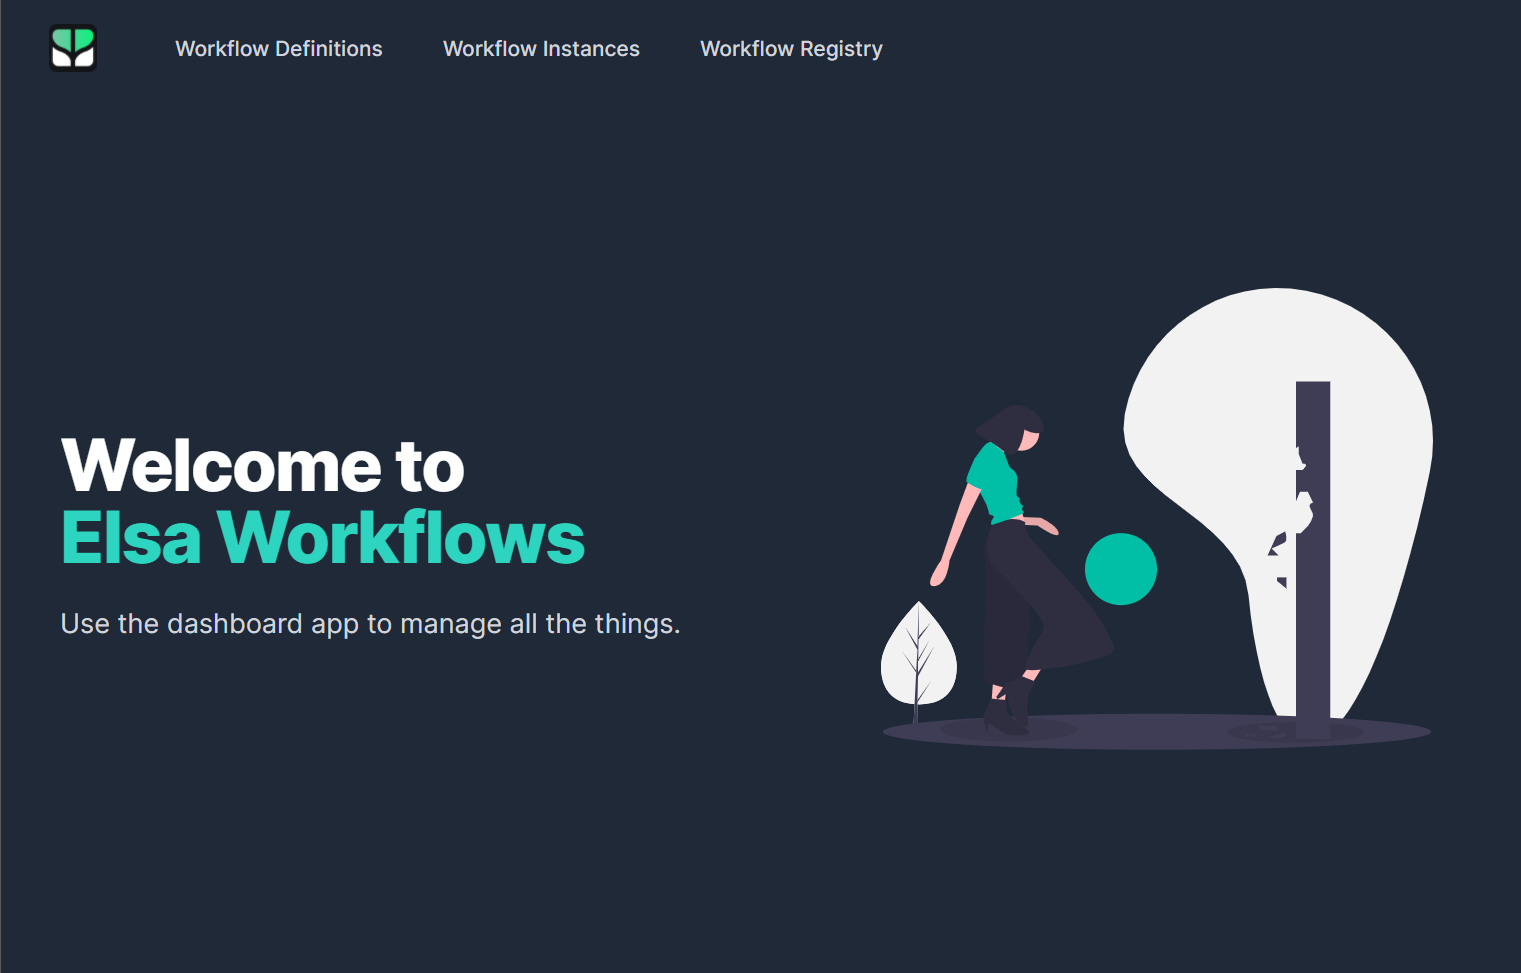
None of the menu items will function correctly until you made sure to point the component to a running Elsa server.
Next Steps
In this guide, we've seen how to setup an Elsa Dashboard that can connect to an Elsa Server. We haven't covered setting up a server in this guide, but is covered here).
Now that you've seen how to setup an ASP.NET Core server with Elsa workflows support, you might want to learn more about the following: